Welcome to our Resident Evil 5 Walkthrough! Well, if you’re jumping into this hardcore survival horror game. We’re with you all the way, providing you with realistic tips and strategies to combat the “Kijuju” you will encounter. Whether you’re up against tough enemies or tricky puzzles, our Resident Evil 5 Walkthrough has you covered with all the insights you need to navigate the game and come out on top.
Complete Chapters Resident Evil 5 Walkthrough Wiki
Chapter 1: Into the Heart of Darkness
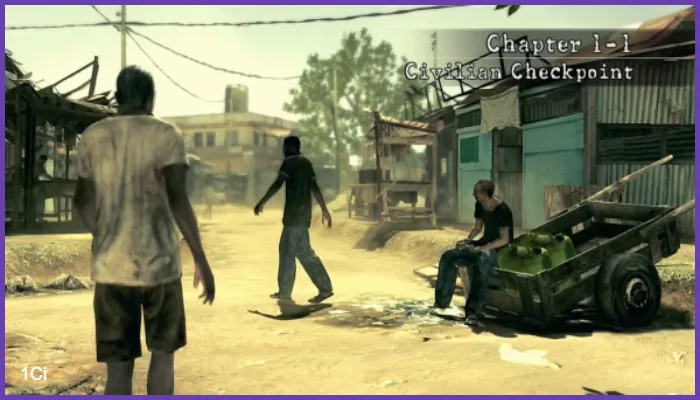
- Chapter 1-1: Civilian Checkpoint Alright, here we go—the opening of Resident Evil 5. Things start off pretty straightforward, but don’t let your guard down. You’re just trying to make it to the rendezvous point, but ammo is scarce, so be smart with your shots. Headshots are your best friend. Trust me, aim for the head and save your bullets for later. Melee attacks? Super useful—smack those enemies around when they get too close. Oh, and don’t forget to smash every crate and barrel you see. There’s stuff hiding in them that’ll come in handy later. It’s just the beginning, but buckle up, it’s gonna get intense.
- Chapter 1-2: Public Assembly Okay, now things are about to heat up. This chapter is pure chaos. Your only job? Survive. The enemies just keep coming, and they’re not going easy on you. Here’s the key—keep moving. You do not want to get stuck in one spot, or you’ll be surrounded in no time. Lucky for you, there are explosive barrels lying around. Don’t hesitate to shoot them when you’ve got a group of enemies closing in on you. One well-placed shot can clear a whole bunch of them. Just remember, don’t get cornered, keep those feet moving!
Chapter 2: A New Enemy
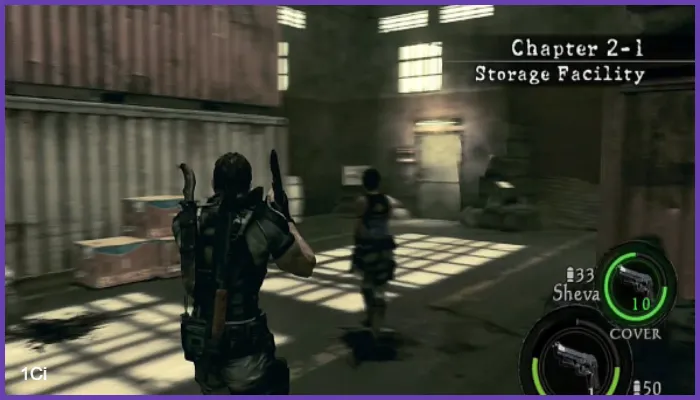
- Chapter 2-1: Storage Facility This one is all about finding a key to move forward, but it’s not gonna be handed to you. Be on the lookout for traps and sneaky ambushes. The enemies love to surprise you here. If things get tight, whip out the shotgun—it’s your best friend for close-range fights. It’s a beast at clearing out rooms fast. Just take it slow, be cautious, and you’ll find the key. Take a deep breath; there’s no rush, and trust me, being careful is way better than being dead.
- Chapter 2-2: Train Station Alright, brace yourself. This chapter is going to test your nerves big time. You’re about to face off with a chainsaw-wielding Majini. Yeah, it’s as terrifying as it sounds. First rule: keep your distance. Let him get close, and you’re toast. This guy doesn’t mess around, so make sure you’re using your most powerful weapons—rifle, shotgun, whatever you’ve got. Aim for the head and just keep backing away. He’ll go down eventually, but not before giving you a run for your money. When you finally take him down, you’re gonna feel like a champion.
- Chapter 2-3: Savannah Face new challenges in the open Savannah. Engage in intense shootouts while exploring the environment for valuable resources. Master the art of dodging enemy attacks and positioning for optimal shots.
Chapter 3: Into the Depths
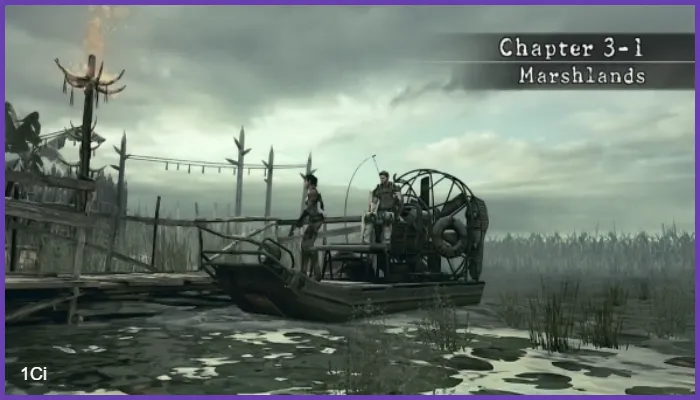
- Chapter 3-1: Marshlands Now you’re in the marshlands, and this is more of an exploration-heavy chapter. Your main goal is to find these pieces to open a door, but there’s a catch. You’ll be boating through the swamp, and guess what? There are crocodiles lurking in the water. Yeah, it’s not exactly a peaceful boat ride. Move carefully, and don’t take unnecessary risks—you don’t wanna end up croc food. Stay on your toes, find those pieces, and get the heck out of there.
- Chapter 3-2: Execution Ground This is where things get really interesting. You’re going head-to-head with a giant Majini. Now, this guy is huge and packs a serious punch, but here’s the trick: don’t just go in guns blazing. Use the environment to your advantage. The giant has weak spots—aim for those, and you’ll deal some serious damage. It’s a tough fight, no doubt, but if you keep moving and keep shooting at those weak spots, you’ll take him down eventually. And trust me, beating this guy feels so good.
- Chapter 3-3: Oil Field – Drilling Facilities This chapter is all about precision. The enemies here are big fans of attacking from a distance, so rushing in isn’t the smartest move. Bust out your sniper rifle and start picking them off before they can even touch you. If you’ve got grenades, even better—lob them into groups of enemies to clear them out quickly. Just stay calm, take it slow, and don’t let yourself get overwhelmed. You’ve got this.
Chapter 4: Two Minds, One Goal
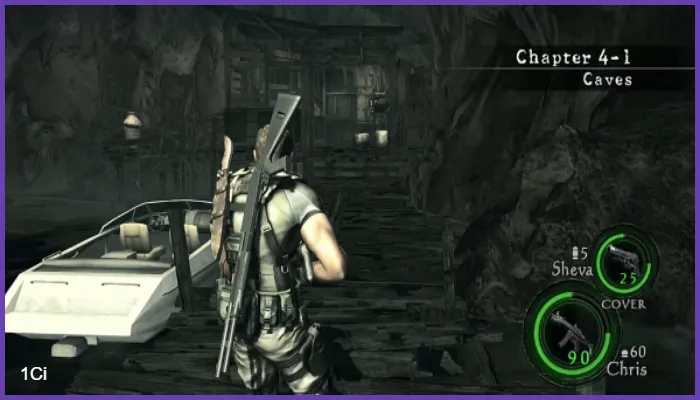
- Chapter 4-1: Caves Alright, now you’re in the caves, and it’s puzzle time. Yeah, the enemies are still around, but you’ll also be solving puzzles to progress. The key here is to pay attention to the symbols and work together with your partner to get through the puzzles faster. Communication is crucial—don’t just try to brute force your way through, or you’ll end up stuck. Take your time, figure things out, and you’ll get through this no problem.
- Chapter 4-2: Worship Area Watch out—this area is filled with traps. Like, everywhere. They’re just as deadly to you as they are to the enemies, so be extra careful. The good news? You can use the traps to your advantage. Lure enemies into them and let the traps do the dirty work for you. Just don’t get caught in one yourself, or you’ll be kicking yourself for not paying attention. Stay sharp, keep moving, and you’ll make it through.
Chapter 5: A Glimmer of Hope
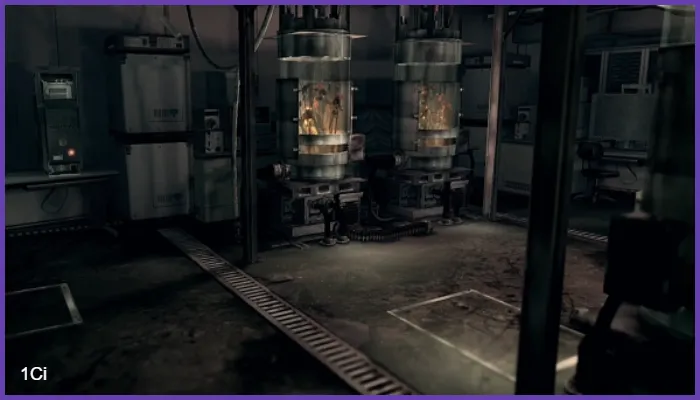
- Chapter 5-1: Underground Garden Things are getting weird now—you’re dealing with plant enemies. These guys are weak to fire, so make sure you’ve got fire-based weapons handy. Incendiary grenades work wonders, and if you’ve got a flamethrower, you’re golden. Just keep your distance and aim for their weak spots. The boss here is no joke either, but if you stick to the fire-and-dodge strategy, you’ll come out on top.
- Chapter 5-2: Experimental Facility You’re deep in the enemy’s lair now. The experimental facility is crawling with enemies, and they’ve got firepower to back them up. The best thing you can do here is to use cover and be smart with your ammo. Conserve the heavy stuff for the tougher enemies and just take out the grunts with precision. Move carefully and make sure you’re not caught out in the open for too long. It’s all about tactical gameplay here.
- Chapter 5-3: Uroboros Research Facility Now it’s boss time again, and this one’s a doozy. You’re fighting a mutated boss, and he’s got weak spots all over. You’ve probably heard this before, but focus your attacks on those weak points if you want to do any serious damage. Use your most powerful weapons—don’t hold back. You’re near the end, so it’s worth unloading everything you’ve got. Take your time, be precise, and eventually, you’ll bring him down.
Chapter 6: The Final Countdown
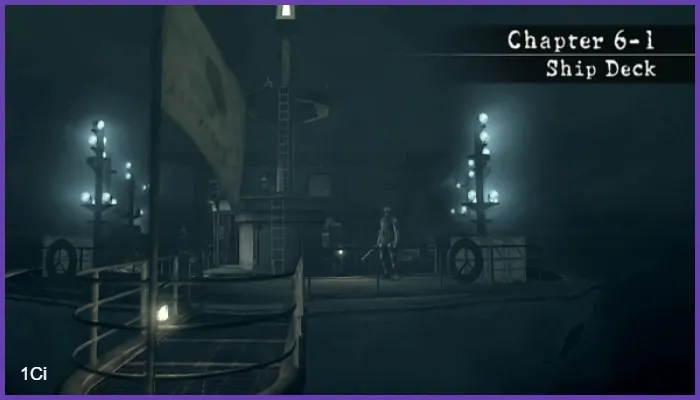
- Chapter 6-1: Ship Deck You’re getting close to the endgame now. The ship deck is packed with enemies, and you won’t have much room to maneuver. Use the environment for cover, because you’ll need it. Keep your eyes peeled for ambushes too—they’ll come out of nowhere, so be ready to react. If you keep a cool head, you’ll be fine. Don’t it, and just keep pushing forward.
- Chapter 6-2: Main Deck Another boss fight, and it’s a tough one. You’ll need to bring out the big guns here—heavy weapons are your best bet. As always, aim for the weak points and stay on the move. The boss has some powerful attacks, but as long as you keep dodging and attacking at the right moments, you’ll be fine. This is one of those fights where patience really pays off.
- Chapter 6-3: Bridge Deck You’ve made it to the final showdown. This is the big one—the final boss. Throw everything you’ve got at him. Use every resource at your disposal, because you won’t need them after this fight. Focus on the weak points, keep moving, and don’t let him get the upper hand. This is it—the moment you’ve been working toward. Give it your all, and when you take him down, you’ll feel like a true survivor.
Other Walkthroughs and Bonus Features

- BSAA Emblem Guide Uncover hidden BSAA emblems throughout the game to enhance your gameplay experience. We’ll provide a detailed guide on their locations and how to collect them all.
- Treasure Location Guide Maximize your resources by discovering valuable treasures hidden throughout the game world. Our guide will help you find and collect all the treasures to boost your inventory.
- List of Awards for Resident Evil 5 Explore the in-game awards and achievements you can earn while playing. We’ll detail the requirements and provide tips on how to unlock each one.
- Bonus Features Discover additional content, unlockables, and secrets that Resident Evil 5 has to offer. From alternate costumes to new game modes, we’ll guide you through the exciting extras available in the game.
BSAA Emblems Locations
- In Chapter 1-1, you can find three emblems: one in the alley behind the first building, another on top of the watchtower, and the last one inside the well.
- In Chapter 2-1, there are four emblems: one in the butcher’s shop freezer, one on the roof of the public assembly, and another hidden in the crates near the exit.
- In Chapter 2-2, there are three emblems: one on the upper level of the execution grounds, another behind breakable crates, and the last one on top of a lamppost.
- In Chapter 2-3, you will find three emblems: one inside a train car, one on the cliff face in the mining area, and the third in the underground cavern.
- In Chapter 3-1, there are four emblems: one under the dock in the swamp, another in a hut in the tribal village, and the remaining two near the oil field machinery.
- In Chapter 4-1, there are three emblems: one in the laboratory’s cold storage, another behind a waterfall, and the last one in the incinerator room.
- In Chapter 4-2, there are three emblems: one on a ruined temple pillar, another in the ancient throne room, and the last one in the underground garden.
- In Chapter 5-1, there are three emblems: one in the ship’s crow’s nest, another in the engine room pipes, and the final one on the flooded lower deck.
- In Chapter 5-2, there are two emblems: one on the experimental lab’s ceiling and another in a hidden compartment in the cargo hold.
- Finally, in Chapter 5-3, you can find two emblems: one in the bridge control room and another under the helicopter pad.
Sum of it, Congratulations, survivor! You’ve completed our Resident Evil 5 walkthrough, Just remember, in the world of Resident Evil, staying sharp and planning ahead are your secret weapons. You’ve crushed it, and we’re super impressed! Here’s to many more victories and epic moments in your gaming adventures. Keep up the amazing work, and keep those survival instincts sharp. You’re a star! Check out our Resident Evil 4 Walkthrough.

